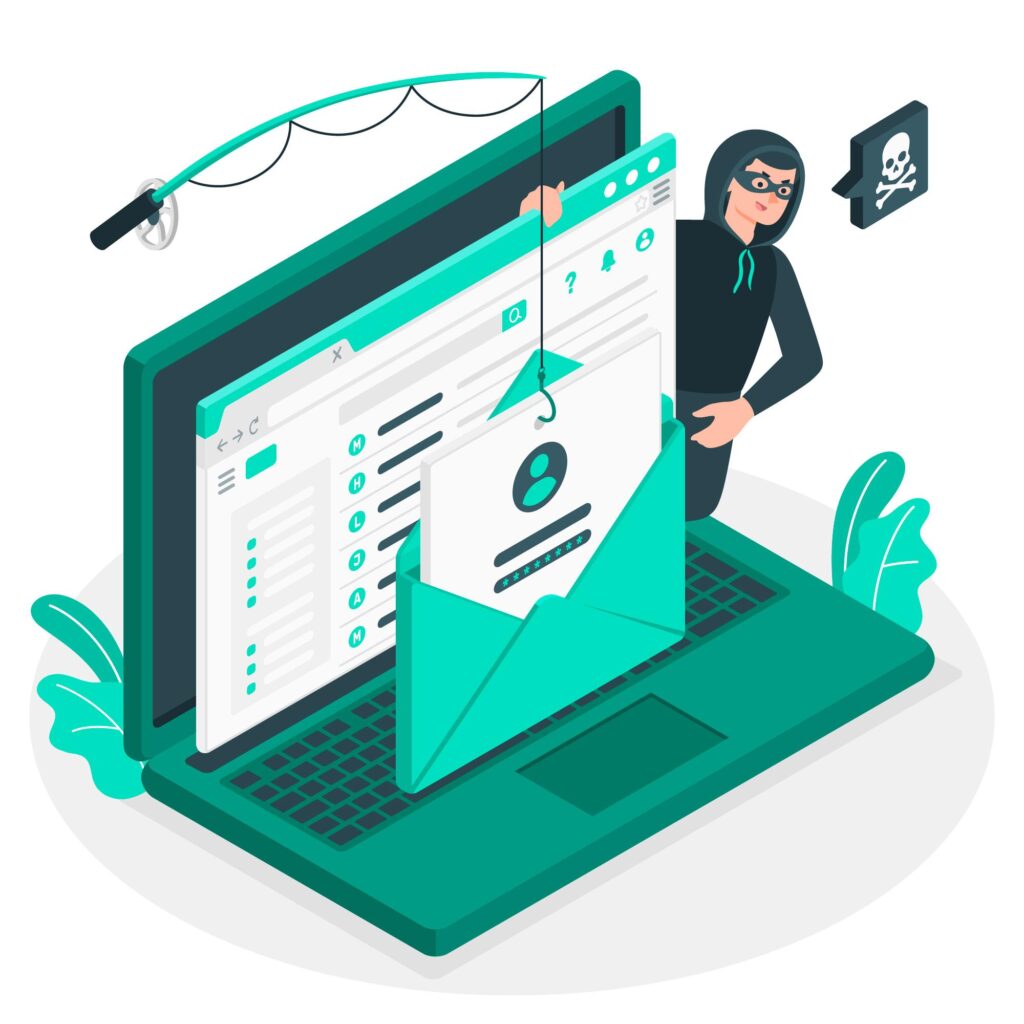
In today’s digital age, securing and authenticating your emails is crucial for ensuring successful communication and preventing phishing attacks. DomainKeys Identified Mail (DKIM) is an essential email authentication method that helps verify the sender’s identity and ensure the integrity of the email’s content. This article will guide you through enabling DKIM in your Namecheap account to enhance email deliverability and protect your domain’s reputation.
Understanding DKIM
What is DKIM?
DKIM, or DomainKeys Identified Mail, is an email authentication method that adds a digital signature to outgoing emails. This signature is generated using a private key associated with your domain and is added to the email’s header. When the recipient’s mail server receives the email, it uses the public key published in the DNS records of your domain to verify the signature’s authenticity.
How does DKIM work?
When an email is sent from your domain, the DKIM signature is generated by hashing specific parts of the email, such as the body and headers, using the private key. This hash is then added to the email as a unique signature. When the receiving mail server gets the email, it retrieves the public key from your domain’s DNS records and uses it to decrypt the signature and validate the email’s authenticity.

Importance of DKIM
Enhanced Email Deliverability
By enabling DKIM, you significantly improve the chances of your emails reaching the recipients’ inboxes instead of being flagged as spam. Many email providers use DKIM as one of the factors to determine the email’s legitimacy and deliverability.
Authentication and Trust
DKIM provides a layer of authentication that helps recipients trust the emails they receive from your domain. It ensures the email came from your domain and hasn’t been tampered with during transit.
Enabling DKIM in Namecheap
Follow these step-by-step instructions to enable DKIM in your Namecheap account:
Step 1: Log in to your Namecheap account
Visit the Namecheap website and log in using your account credentials.
Step 2: Access your domain’s DNS settings
Locate the domain for which you want to enable DKIM and navigate to its DNS settings.
Step 3: Create a DKIM record
In the DNS settings, create a new TXT record with the following information:
Name/Host/Alias: default._domainkey (Note: Some DNS providers may require you to enter only “default” in this field.)
TTL: 1800 (or the value suggested by Namecheap)
Type: TXT
Value: v=DKIM1; k=rsa; p=<your public key>
Step 4: Publish the DKIM record
Save the changes to your DNS settings to publish the DKIM record. It may take some time for the changes to propagate across the internet.
Verifying DKIM Setup
To ensure that you have correctly enabled DKIM for your domain, you can use various DKIM checkers available online. Additionally, you can conduct email tests to verify if your emails are now being signed with the DKIM signature.
Common DKIM Issues and Troubleshooting
While DKIM is a powerful email authentication method, it may encounter issues during setup or implementation. Here are some common problems and troubleshooting tips:
Record Errors
Double-check the DKIM record you created in your DNS settings for syntax errors or missing information.
Email Delivery Problems
If you experience email delivery issues after enabling DKIM, consider checking your SPF and DMARC records. These records work in conjunction with DKIM to enhance email security.
Best Practices for DKIM Implementation
To make the most of DKIM, consider following these best practices:
Generate Strong Keys
When generating DKIM keys, opt for a strong cryptographic algorithm and key size to ensure maximum security.
Regularly Monitor DKIM Status
Regularly check the status of DKIM for your domain to ensure everything is functioning correctly.
Keep DNS Records Updated
Maintain accurate and up-to-date DNS records to avoid any interruptions in DKIM functionality.
Conclusion
Enabling DKIM in your Namecheap account is a simple yet effective way to improve your email deliverability and protect your domain’s reputation. By following the step-by-step guide provided above, you can ensure that your emails are authenticated and trusted by recipients. Embrace DKIM as an essential component of your email security strategy, and enjoy enhanced email communication.
FAQs
What is DKIM, and why is it important?
DKIM stands for DomainKeys Identified Mail and is crucial for verifying the authenticity of emails and ensuring they reach the intended recipients’ inboxes.
Does DKIM prevent all email delivery issues?
While DKIM is a vital authentication method, it is not the only factor affecting email deliverability. SPF and DMARC records also play a significant role.
Can I enable DKIM for multiple domains in Namecheap?
You can enable DKIM for multiple domains by following the same steps for each domain.
Can I change the DKIM public key after setting it up?
Yes, you can change the DKIM public key in your DNS settings. However, remember to update the record in your email server configuration.
Does DKIM protect my emails from being intercepted?
DKIM provides authentication, not encryption. While it verifies the sender’s identity, it doesn’t encrypt the email’s content during transmission. For encryption, consider using technologies like S/MIME or PGP.
