Introduction:
In the rapidly evolving digital landscape, website security stands as an indispensable pillar. With the relentless surge in cyber threats, safeguarding online businesses demands proactive measures. Amidst these challenges, Namecheap, a leading web hosting provider, takes pride in offering all-encompassing solutions that fortify the protection of your website and its valued visitors. Our unwavering commitment to security empowers you to navigate the virtual realm with confidence, knowing your online presence remains shielded from the ever-present cyber risks.
Understanding the Threat Landscape
The threat landscape in the digital realm is ever-evolving. Cyber criminals are continuously trying new ways to exploit vulnerabilities and gain unauthorized access to websites by finding holes. Understanding the current cyber threats and their implications is essential for website owners who want to stay ahead of potential risks. Research and statistics reveal alarming trends, highlighting the urgent need for enhanced website security.
Assessing Your Website’s Vulnerabilities
To safeguard your website effectively, it is crucial to identify its vulnerabilities and weaknesses. By conducting a comprehensive assessment, you can gain insights into potential entry points for attackers. Understanding the potential impact of breaches on your website allows you to prioritize security measures and allocate resources accordingly. Anyone can minimize the risk of a security incident if he focuses on proactively addressing vulnerabilities.
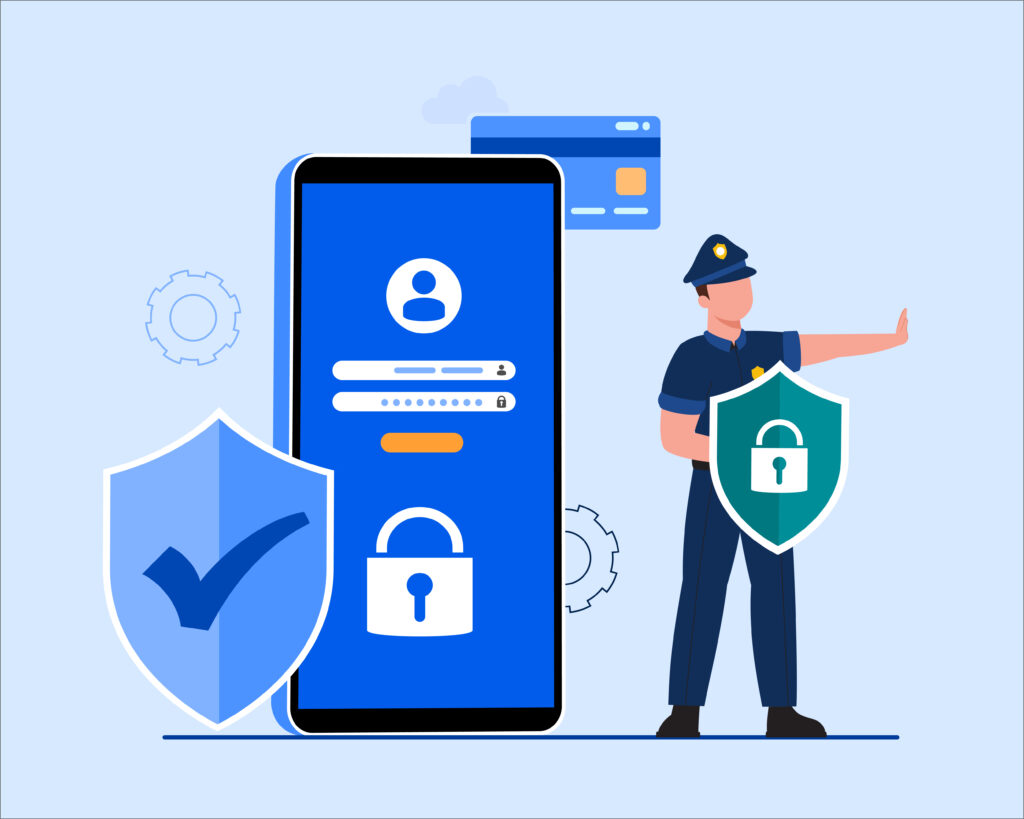
The Role of SSL Certificates in Website Security
In order to increase website security, SSL certificates are essential. These digital certificates encrypt the communication between a website and its visitors, ensuring that sensitive information remains confidential. SSL certificates validate the authenticity of a website and provide assurance to visitors that their data is secure. There are different types of SSL certificates available at Namecheap and each offering unique features and levels of security.
Step 1: Choosing a Reliable Web Hosting Provider
Selecting a secure web hosting provider is the first crucial step in fortifying your website’s security. Factors to consider when choosing a web host include their reputation, uptime guarantees, security features, and customer support. Trusted web hosting providers prioritize security by implementing robust measures to protect servers and user data.
Some suggested web hosting companies that place a strong emphasis on security include:
Namecheap: Recognized for its dependable and secure hosting services, Namecheap provides a selection of hosting packages tailored to different levels of security requirements.
SiteGround: With its focus on security and advanced technology, SiteGround is a popular choice among website owners looking for a secure hosting environment.
A2 Hosting: A2 Hosting boasts impressive security features, including free SSL certificates and HackScan protection, making it a solid option for bolstering website security.
Step 2: Securing Your Domain Name
Securing your domain name is a crucial aspect of website security that is often overlooked. By implementing proper domain name management practices, you can protect your website from unauthorized access and malicious attacks. Ensuring DNS security is essential, as it guards against DNS hijacking and other common vulnerabilities.
Consider putting the following procedures into practice to improve domain name security:
To give the DNS records for your domain an additional degree of security, enable DNSSEC (Domain Name System Security Extensions).
Utilize registry lock services offered by domain registrars for an added level of security against unauthorized changes to your domain settings.
Regularly review your domain’s WHOIS information to ensure its accuracy and prevent potential security risks.
Step 3: Implementing Strong Authentication Methods
Implementing robust authentication techniques is essential to safeguard against unauthorized access. Authentication is a crucial component of website security. Many experts advise using two-factor authentication (2FA) to increase website security. The login process for your website is made more secure by requiring a second form of identification, like a special code texted to a mobile device.
To effectively set up and manage 2FA, follow these steps:
- Choose a reliable 2FA provider that aligns with your security requirements.
- Enable and configure 2FA within your website’s authentication settings.
- Educate website users on the importance of 2FA and guide them through the setup process.
- Regularly monitor and review 2FA logs to identify any suspicious activity.
Step 4: Regularly Updating Your Website’s Software
Regularly updating your website’s software is paramount to maintaining optimal security. Versions of software that are out of date may have known flaws that bad actors can use against them. Maintaining software versions ensures that your website receives the most recent security updates and improvements.
Best practices for updating website platforms and CMS include:
- Enabling automatic updates whenever possible to ensure timely security patches.
- Periodically reviewing third-party plugins and extensions for potential security risks and updating them accordingly.
- Testing updates on a staging environment before implementing them on your live website to mitigate any unforeseen compatibility issues.
Step 5: Utilizing Web Application Firewalls (WAF)
By screening and observing incoming web traffic, Web Application Firewalls (WAFs) add an extra degree of protection. A WAF shields your website from common web-based threats like SQL injections and cross-site scripting (XSS) by evaluating requests and preventing unwanted traffic. Implementing a reputable WAF solution is crucial for comprehensive website security.
Recommended WAF solutions known for their effectiveness include:
Cloudflare: A popular cloud-based WAF provider offering a range of security features, including bot protection and DDoS mitigation.
Sucuri: Known for its robust security services, Sucuri provides a WAF solution that helps protect websites from various online threats.
Imperva: Offering advanced threat intelligence and real-time protection, Imperva’s WAF solution ensures websites are safeguarded against emerging threats.

Step 6: Conducting Regular Website Backups
Website backups are an integral part of a comprehensive security strategy. In the event of a security incident or data loss, having a recent backup enables you to quickly restore your website’s functionality and minimize downtime. Regular automated backups ensure that your website’s data is protected and easily recoverable.
Methods and tools for automating website backups include:
- Utilizing hosting providers that offer automated backup services as part of their hosting packages.
- Employing plugins or extensions specifically designed for creating and scheduling automated backups.
- Utilizing remote cloud storage platforms to securely store website backups.
Step 7: Implementing SSL/TLS Certificates for a Secure Connection
In order to establish a secure and encrypted connection between your website and its users, the integration of SSL/TLS certificates is essential.
Below are step-by-step instructions on how to install an SSL certificate for your website hosted with Namecheap, guiding you through the process to ensure a protected online environment. Please note that the specific steps might vary slightly depending on your hosting environment and the SSL certificate provider. Here’s a general outline to guide you through the process:
Purchase an SSL certificate:
Before you begin, you need to obtain an SSL certificate. You can purchase one from Namecheap or any other SSL certificate provider.
Generate a CSR (Certificate Signing Request):
To get the SSL certificate, you’ll need to generate a CSR on your server. The CSR contains information about your website and is used by the SSL provider to create the certificate.
Complete the SSL verification process:
After generating the CSR, you’ll need to go through a verification process to prove that you own the domain you want the SSL certificate for. This verification process varies depending on the type of SSL certificate you’ve purchased.
Receive the SSL certificate:
Once the verification is complete, the SSL provider will issue the SSL certificate. You’ll receive the SSL certificate files via email or through your SSL certificate provider account.
Install the SSL certificate:
Now, you’ll install the SSL certificate on your server. The steps to do this can vary depending on the hosting environment you’re using. Since you mentioned Namecheap, I’ll assume you are using their hosting service. Here’s a general outline:
a. Log in to your Namecheap account.
b. Navigate to the “SSL Certificates” section or a similar area, where you can manage your SSL certificates.
c. Click on “Activate” or “Install” next to the SSL certificate you want to set up.
d. You may be prompted to paste your CSR at this point.
e. Next, you’ll need to provide the SSL certificate files (usually in PEM format) you received from the SSL provider. This typically includes the SSL certificate itself, any intermediate certificates, and the private key.
f. Save the changes and proceed.
Adjust Website Settings for HTTPS:
Once the SSL certificate is successfully installed, it’s crucial to configure your website settings to utilize HTTPS instead of HTTP. If you are working with a Content Management System (CMS) like WordPress, there are often plugins or settings available to facilitate HTTPS enforcement seamlessly. Alternatively, for other setups, you can modify your .htaccess file or server configurations to ensure a smooth redirection of HTTP traffic to HTTPS.
Verify SSL Functionality:
After completing the setup, it is essential to conduct a thorough SSL installation test to verify its proper functioning. By testing the SSL certificate, you can ensure that your website’s encryption is operational and that visitors can access your site securely.
You can use online SSL checkers to verify your SSL certificate’s installation and security.
Renew your SSL certificate:
SSL certificates have an expiration date, typically ranging from 1 to 2 years. Before your SSL certificate expires, make sure to renew it to keep your website secure.
Keep in mind that the specific steps may differ slightly depending on the SSL certificate type (e.g., Single-domain SSL, Wildcard SSL, Extended Validation SSL) and the hosting environment. If you have any specific questions or issues about the installation, you can always reach out to Namecheap’s customer support for assistance.
Step 8: Protecting Against DDoS Attacks
Attacks such as distributed denial of service (DDoS) can prevent real visitors from accessing your website by flooding it with fake traffic. Protecting your website against DDoS attacks is crucial to maintain its availability and ensure a positive user experience. Mitigation techniques and services can help minimize the impact of DDoS attacks.
Some effective techniques to protect against DDoS attacks include:
- Using a CDN (Content Delivery Network) with built-in DDoS protection to distribute traffic and filter out malicious requests.
- Implementing rate limiting to restrict excessive requests and mitigate the impact of potential DDoS attacks.
- Employing specialized DDoS protection services to detect and block malicious traffic before it reaches your website.
Step 9: Securing Website Files and Directories
Securing website files and directories is essential to protect sensitive data and prevent unauthorized access. Implementing secure file permissions and access controls ensures that only authorized users can access and modify critical files. Encryption and integrity measures also play a crucial role in safeguarding sensitive information.
Think about the following to improve the security of the files and directories on your website:
Ensure that only necessary read, write, and execute permissions are provided by setting the proper file and directory permissions.
Regularly monitor and audit file and directory permissions to identify and rectify any vulnerabilities.
Use encryption technologies to safeguard sensitive data during file transfers, such as SSH (Secure Shell).
Step 10: Regular Security Audits and Penetration Testing
Regular security audits and penetration tests are essential to find and fix vulnerabilities before they are used against you. Security audits involve a comprehensive review of your website’s security measures, while penetration testing tests your website’s defenses by simulating real-world attacks. Embracing these practices helps ensure that your website remains resilient against potential threats.
Case Studies: Real-Life Examples of Enhanced Website Security
Examining real-life examples of successful implementation of website security measures provides valuable insights into the effectiveness of various security practices. Studying renowned websites that have faced security challenges allows you to learn from their experiences and implement proactive measures to protect your own website.
Summary: Your Website, Fortified Better Than Ever Before
By following the comprehensive steps outlined in this guide, you can fortify your website’s security like never before. Prioritizing website security is critical in today’s rapidly evolving digital landscape. You may have peace of mind and assurance that your website and its visitors are secure by putting into place a comprehensive strategy that covers all facets of website security.
FAQs: Addressing Common Queries on Website Security
Q: How often should I update my website’s software?
A: It is recommended to update your website’s software as soon as security patches or new versions are released by the software developers. Regular updates are essential to ensure that your website remains protected against known vulnerabilities.
Q: Can I use free SSL certificates for my website?
A: While free SSL certificates are available, they typically come with limitations. Consider the level of security your website requires and assess whether investing in a paid SSL certificate would provide better protection and additional features.
Conclusion: Embark on Your Website Security Journey with Namecheap
In conclusion, every website owner should place the highest premium on website security. To safeguard your sensitive information and keep visitors’ trust, you must take fast action to strengthen website security. Namecheap is dedicated to giving you the resources and tools you need to protect your website from threats. Start your road toward website security with Namecheap today and take advantage of the comfort that comes from knowing your website is safe.